
Deployment
How to Deploy a Jekyll Site on Cloudflare Pages
A step-by-step path from a local Jekyll build to a fast, free production site on Cloudflare Pages, with custom domains, redirects, and preview deployments.
Static sites are at their best when the path from commit to production feels invisible. Cloudflare Pages gives a Jekyll project a fast global network, free SSL, and a preview link for every branch, without a control panel to babysit. This guide walks through the whole setup, including the small details that trip people up.
What you need
- A Jekyll site that builds locally with
bundle exec jekyll build - The project in a GitHub or GitLab repository
- A free Cloudflare account
1. Make the build reproducible
Cloudflare builds your site on a fresh Linux machine every time, so pin everything your build depends on.
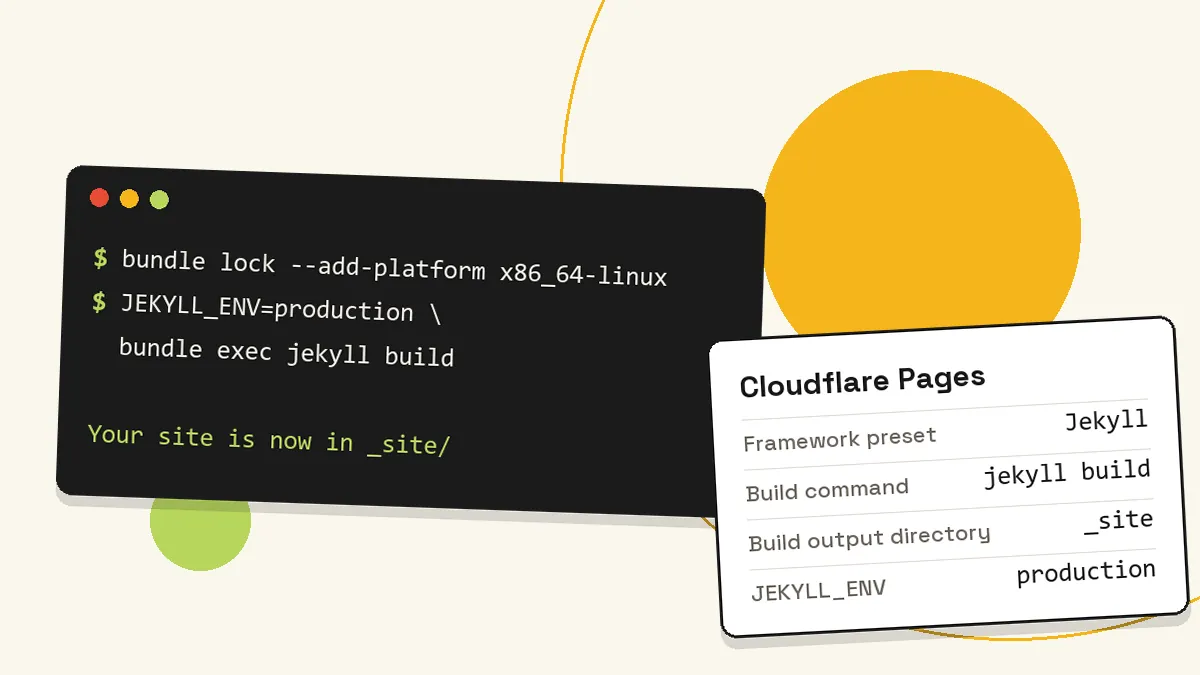
Commit your Gemfile and Gemfile.lock. If you work on Windows or macOS, add Linux to the lockfile so the build server can install the same gems:
bundle lock --add-platform x86_64-linuxThen pin the Ruby version by adding a .ruby-version file to the project root:
3.3.5Run a clean production build locally to be sure it works:
JEKYLL_ENV=production bundle exec jekyll buildYour site is now in the _site folder. That’s exactly what Cloudflare will publish.
2. Create the Pages project
- In the Cloudflare dashboard, open Workers & Pages, choose Create, then Pages, and connect your Git repository.
- Pick the Jekyll framework preset. It fills in the two settings that matter:
- Build command:
jekyll build - Build output directory:
_site
- Build command:
- Under Environment variables, add
JEKYLL_ENVwith the valueproduction, so plugins likejekyll-seo-tagand your analytics snippets behave as they do on a live site. - Save and deploy.
The first build takes a minute or two because gems are installed from scratch. Later builds are faster thanks to caching.
3. Add your custom domain
Open the project’s Custom domains tab, choose Set up a domain, and enter your domain. If the domain already uses Cloudflare DNS, the record is created for you; otherwise Cloudflare shows the CNAME to add at your registrar. HTTPS is issued automatically.
Set url in _config.yml to the final address (for example https://example.com) so canonical links, sitemaps, and social previews point to the right place.
4. Redirects and headers (the gotcha)
Cloudflare Pages reads two optional files from the output folder: _redirects for redirects and _headers for custom HTTP headers. Jekyll, however, skips every file whose name starts with an underscore unless you tell it otherwise. Add them to _config.yml:
include:
  - _redirects
  - _headers
A _redirects file is one rule per line, specific rules first:
/old-page/      /new-page/      301
/blog/2019/*    /blog/          301
This is the cleanest way to keep search rankings when you rename pages or move from another platform.
5. Use preview deployments
Every branch and pull request gets its own preview URL. Push a branch called redesign, and Cloudflare builds it at a unique address you can share for feedback, while your production site stays untouched. Merge into your main branch when it’s ready, and production updates automatically.
Troubleshooting
- “Could not find gem … in locally installed gems”: the lockfile is missing the Linux platform. Run
bundle lock --add-platform x86_64-linuxand commit. - Wrong Ruby version: check that
.ruby-versionis committed in the project root. - Styles missing on the live site: check
urlandbaseurlin_config.yml. On a custom domain,baseurlshould usually be empty. - Redirects not working: confirm
_redirectsappears in your built_sitefolder. If it doesn’t, add it toinclude.
Keep it boring
The best deployment is one you never think about: small HTML, optimized images, clear metadata, and a process you can explain in a paragraph. Every Tortoiz Jekyll theme is a plain static site, so this workflow works with all of them out of the box.