 Jekyll
 React
React WordPress
 Hugo
Hugo Bootstrap
How to Deploy a Jekyll Site on Cloudflare Pages for Free – Step-by-Step Guide
Learn how to deploy a Jekyll site on Cloudflare Pages for free. Step-by-step hosting guide with build commands, GitHub setup, environment variables, and custom domain configuration.
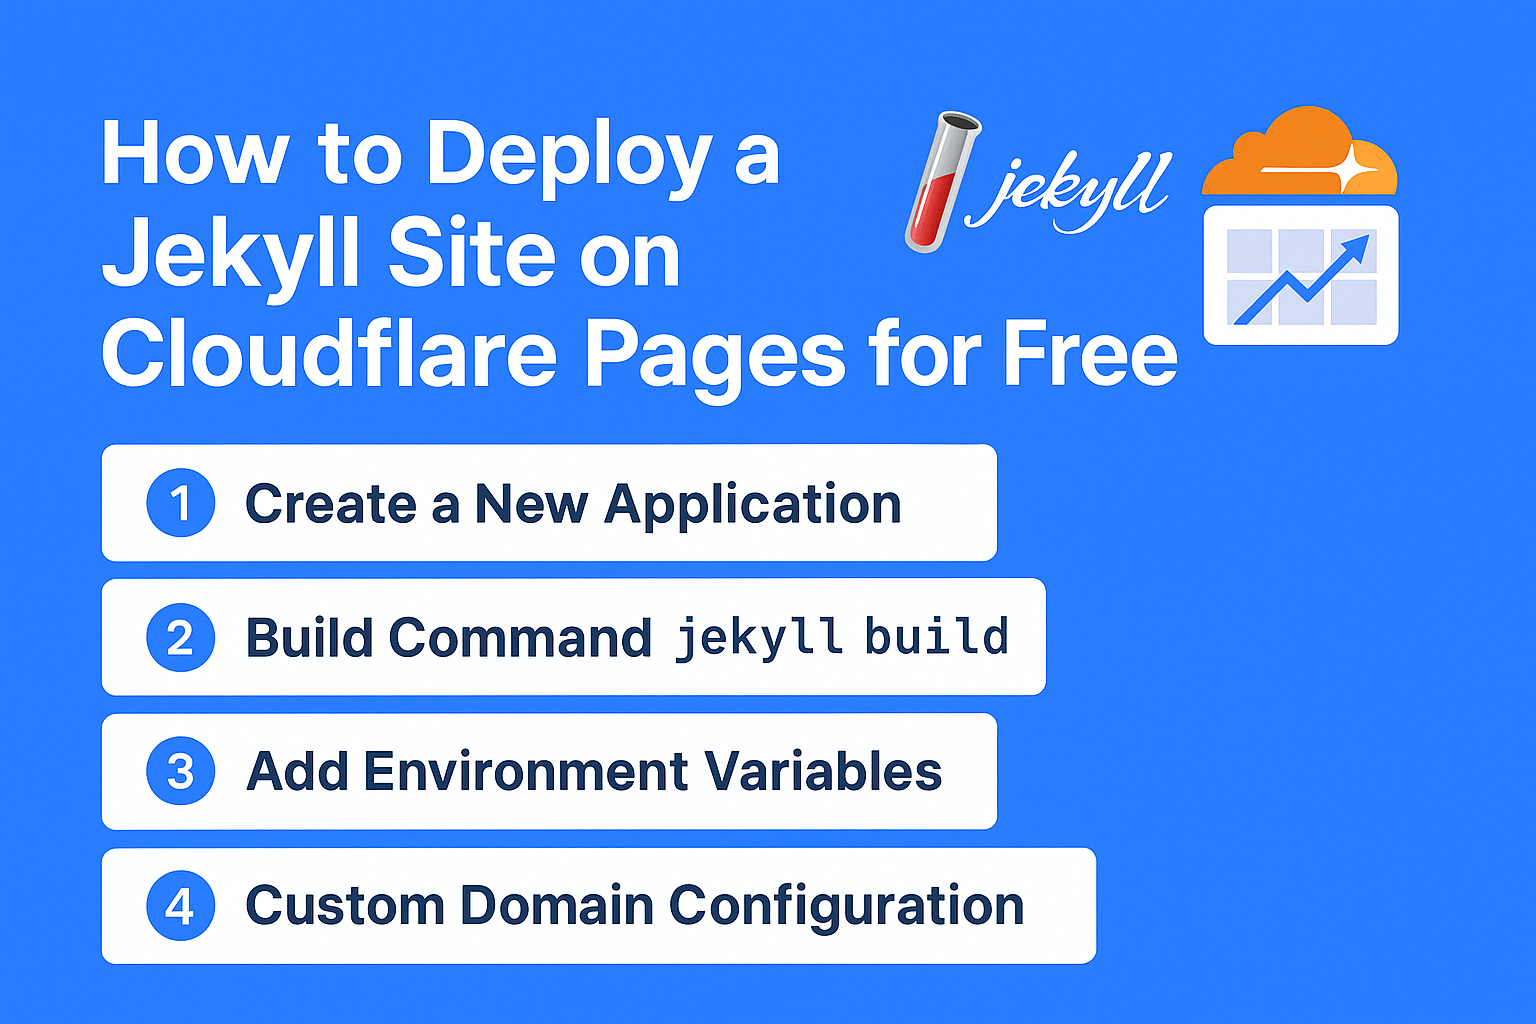
How to Deploy a Jekyll Site on Cloudflare Pages for Free (Step-by-Step Guide)
If you’re looking for free, fast, secure, and globally distributed hosting for your Jekyll website, Cloudflare Pages is an excellent option. It offers:
- Global CDN and SSL (free)
- Unlimited page views and bandwidth
- Automatic deployments from Git
- Excellent performance and SEO advantages
In this complete guide, we’ll walk through:
- Creating a Jekyll site
- Connecting GitHub to Cloudflare Pages
- Setting build commands and environment variables
- Configuring custom domains and SEO basics
⭐ Why Host Jekyll on Cloudflare Pages?
Cloudflare Pages is designed for static sites like Jekyll and Hugo, making it:
- 100% free for personal projects
- Extremely fast due to global edge caching
- Secure with auto HTTPS
- EASY to deploy via GitHub
And unlike GitHub Pages, you don’t need to worry about plugin limitations or slow build times.
1) Prerequisites
Before you begin, make sure you have:
- A Cloudflare account (free)
- A GitHub account
- Jekyll installed locally
- A basic understanding of Git (commit & push)
If you already have a Jekyll site on GitHub, skip to Step 3.
2) Create a New Local Jekyll Project
Install Ruby and Jekyll:
gem install jekyll bundler
Create a new Jekyll project:
    jekyll new my-jekyll-site
    cd my-jekyll-site
Preview your site locally:
bundle exec jekyll serve
Visit:
http://localhost:4000
Make sure the local version works before deployment.
3) Push Your Site to GitHub
Inside your project folder:
    git init
    git add .
    git commit -m "Initial Jekyll site"
    git branch -M main
    git remote add origin https://github.com/<username>/<repo>.git
    git push -u origin main
Your Jekyll site is now on GitHub and ready for Cloudflare Pages.
4) Create a Cloudflare Pages Application
4.1 Go to Cloudflare Dashboard
-
Login to Cloudflare
-
Navigate to Workers & Pages
-
Click Create Application
-
Select Pages
4.2 Connect to Git
-
Choose Connect to Git
-
Authorize GitHub (if first time)
-
Select your Jekyll repo
-
Click Begin Setup
This ensures automatic deployment on every Git push.
5) Configure Build Settings (IMPORTANT)
Cloudflare must know:
-
How to build the site
-
Where the final static files live
Build Command
Set:
jekyll build
Build Output Directory
Set:
_site
This is the folder that Jekyll generates during the build.
6) Add Environment Variables
To avoid build errors, you MUST specify the correct Ruby version.
Add:
| Variable | Value |
|---|---|
| RUBY_VERSION | 3.1.3 (or your local version) |
| JEKYLL_ENV | production |
Why this matters:
-
Prevents gem version conflicts
-
Enables production optimizations
-
Ensures consistent builds between local and cloud
Tip: Always keep Gemfile and Gemfile.lock committed so Cloudflare installs the correct gems.
7) Trigger Deployment
Click:
Save and Deploy
Cloudflare will:
-
Install Ruby
-
Install gems from Gemfile
-
Run jekyll build
Upload the _site folder globally
You’ll get a free URL like:
https://your-project-name.pages.dev
Your Jekyll site is now live on a CDN automatically.
Fixing Common Cloudflare Pages Build Errors
❌ jekyll: not found
Fix:
- Ensure Jekyll is inside your Gemfile:
gem "jekyll"
Commit both:
Gemfile
Gemfile.lock
Push again — Cloudflare installs dependencies automatically.
❌ GitHub Pages → Cloudflare Migration Errors
If using github-pages gem (common on GH Pages), add:
gem "github-pages", group: :jekyll_plugins
Then:
    bundle update
    git add .
    git commit -m "Cloudflare compatibility"
    git push
8) Add a Custom Domain (SEO Recommended)
Custom domain setup:
-
Go to your Cloudflare Pages project
-
Click Custom Domains
-
Add your domain (example):
www.yourdomain.com
- Cloudflare will tell you to add:
CNAME → your-project.pages.dev
DNS propagates within minutes.
Cloudflare automatically enables:
-
HTTPS / SSL
-
HTTP → HTTPS redirects
-
Global caching
9) SEO Best Practices for Jekyll on Cloudflare Pages
✔ Set URL in _config.yml
    url: "https://yourdomain.com"
    baseurl: ""
✔ Add robots.txt
Create /robots.txt:
    User-agent: *
    Allow: /

    Sitemap: https://yourdomain.com/sitemap.xml
✔ Add SEO Plugins (optional)
- jekyll-seo-tag

- jekyll-sitemap
✔ Optimize images before committing
Remember: Cloudflare caches static files globally, so your site becomes extremely fast for users worldwide.
10) Automatic Deployments After Every Push
You no longer need to deploy manually.
Cloudflare detects new commits and redeploys your site instantly:
- Edit locally

- Commit

- Push
Cloudflare rebuilds _site automatically in production mode.
Perfect workflow for blogging, documentation, or personal websites.
⭐ Final Thoughts
Hosting a Jekyll site on Cloudflare Pages gives you:
-
Free global hosting
-
Automatic HTTPS
-
Edge caching
-
Git-based deploys
-
Zero maintenance costs
Much faster loading than shared hosting
Once your project is set up correctly with the right build command and environment variables, Cloudflare Pages becomes one of the fastest and easiest ways to host static sites, especially if performance and SEO matter.
You Might Also Like

blog
Top 5 Best Jekyll Themes in 2025 for Blogs, Portfolios & Docs
Discover the top 5 best Jekyll themes for 2025. Whether you're a developer, blogger, or designer, these Jekyll templates are fast, responsive, SEO-optimized, and perfect for GitHub Pages.
July 8, 2025

blog
Welcome to the New Tortoiz Themes – Fast, SEO-Optimized Jekyll Themes
Discover premium Jekyll themes by Tortoiz Themes. Get fast, responsive, and SEO-optimized website templates for developers and businesses. Explore our collection today!
July 1, 2025